
A Coffee Maker Leak Looks Simple Until You Find Where It Starts
· NookPrep Editorial Team
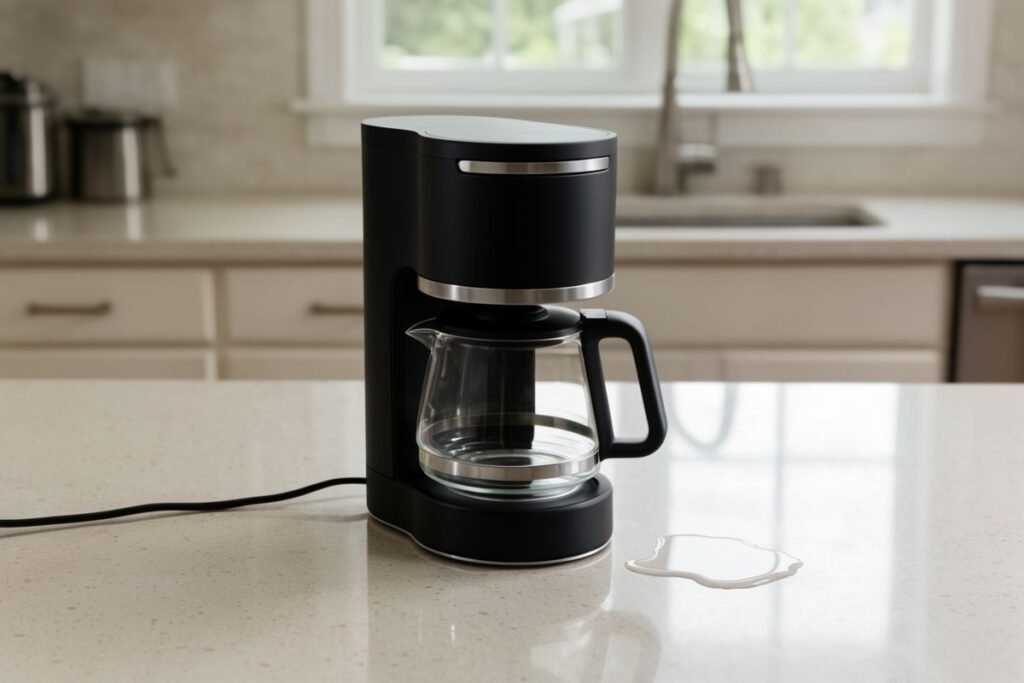
There is a small puddle underneath your coffee maker. You wipe the counter, move the machine forward, and start wondering whether a seal has failed. Sometimes a leak really does need service. But water on the counter does not tell you where it began. It may have run down the side of a reservoir, escaped near the carafe, collected in a drip tray, or come from a connection you cannot safely inspect.
Before buying a replacement, answer one question. Was the liquid clear water, brewed coffee, or something else? Then ask when it appeared. You do not need to run a questionable appliance again to investigate those clues. If its electrical base, cord or plug is wet, stop using it and follow the manufacturer’s service guidance rather than experimenting with power.
The Featured image is an AI-created illustration, not documentation of a real leak or a tested appliance.
Match the puddle to the clue before you blame a part
Do not run a leaking machine to recreate a symptom. Once it is safe to inspect without handling wet electrical components, notice what is already there:
On a phone, swipe sideways to read the full comparison.
| Clue | A possible explanation | Safer next decision |
|---|---|---|
| Clear water beside a removable reservoir | A spill during filling, poor tank seating, or a tank-related leak | Consult the model’s tank-removal instructions; do not test by powering a wet base. |
| Coffee-colored spill around the pot or warming area | Carafe positioning, a pouring spill, or basket overflow | Check only accessible, cooled components; distinguish an external spill from a machine leak. |
| Water inside a designed drip tray | Normal drainage on some espresso machines, or an overfull tray | Consult that model’s drip-tray instructions; the same assumption does not apply to a drip brewer. |
| Recurring liquid beneath the electrical housing | Source not established; electrical exposure is possible | Stop use and contact the manufacturer or a qualified service provider. |
The Philips Barista Brew support article gives a useful model-specific example of why a drip tray and a leak under the housing should not be treated as the same thing. It does not identify the cause in an unrelated drip coffee maker.
A puddle at the bottom does not identify the leak
Water travels. It may start near a removable tank and follow a seam before finally dripping underneath a machine. Coffee can overflow from a carafe or brew basket, run beneath the warming plate, and appear to come from the base. On some espresso machines, water is intentionally directed into a removable drip tray. A photograph of the puddle alone cannot identify the internal source.
Philips specifically distinguishes expected water in the drip tray of certain Barista Brew machines from clear water leaking under the housing when a tank is incorrectly inserted or overfilled. This guidance is for the listed Philips models, not a universal description of drip coffee makers. Read Philips’s model-specific explanation.
That distinction gives you a safer method of thinking. A drip tray working normally may look alarming if you do not know its purpose, while an electrical base becoming wet is a different concern. Do not assume the appliance is defective just because a container designed to collect liquid has collected it. Equally, do not assume water beneath a base is normal without checking the model’s documentation.
First make the area safe and record what you see
If the machine is running, stop it using the manufacturer-approved controls if safe to do so. Disconnect power only if you can do so without touching wet electrical equipment or placing yourself at risk. A wet plug, damaged cord, sizzling, burning smell, repeated tripping or unusually hot socket needs professional attention. Do not handle a wet plug or appliance to conduct an experiment.
The U.S. Consumer Product Safety Commission warns about the hazards of wet electrical appliances after flooding. While that guidance covers a more severe context than an ordinary countertop spill, the principle is useful: water and electrical components require caution, not an improvised powered test. See the CPSC electrical-safety warning.
Take a photograph before wiping everything away. Note whether the liquid looks like water or coffee, where it pooled, whether the reservoir was just filled, and whether a brewing cycle or cleaning step was underway. These simple observations can help support staff without requiring you to remove a panel.
Check the removable water tank if your model has one
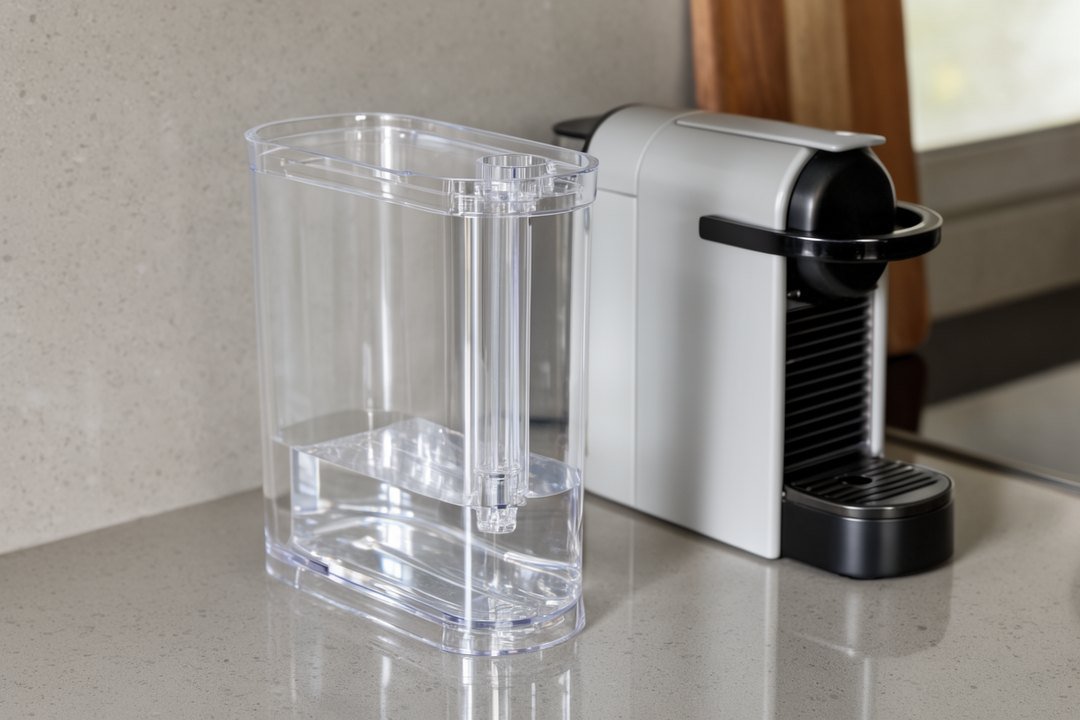
A removable tank can be convenient when your brewer sits under a cabinet, but it introduces an everyday handling step. When you lift it out, refill it, and put it back, the tank must sit as designed. If a seal is distorted, the tank is overfilled, or the container is not seated properly, liquid may escape near the attachment point on some machines.
Philips’s instructions for its Barista Brew line specifically mention avoiding an overfilled tank and seating the water tank completely when clear water appears behind or below the appliance. These are Philips Barista Brew checks, and they are not proof that every coffee maker has the same connection.
For your own model, consult the manual’s diagram showing where the reservoir sits and whether there are owner-serviceable seals. If the manual allows the tank to be removed for cleaning, inspect it while the machine is cool and unplugged, without opening the appliance. Look for visible cracks or a damaged exterior seal. Never pry at a spring-loaded valve or replace an unknown gasket with one that happens to fit by size.
If the water tank has an obvious crack, replace it only with the correct manufacturer-approved part. A compatible-looking tank or gasket may not seal reliably in the actual appliance. And if the water already reached wiring or electrical controls, do not restart the machine just because the removable tank looks better seated.
Could a full carafe be sending coffee under the base?
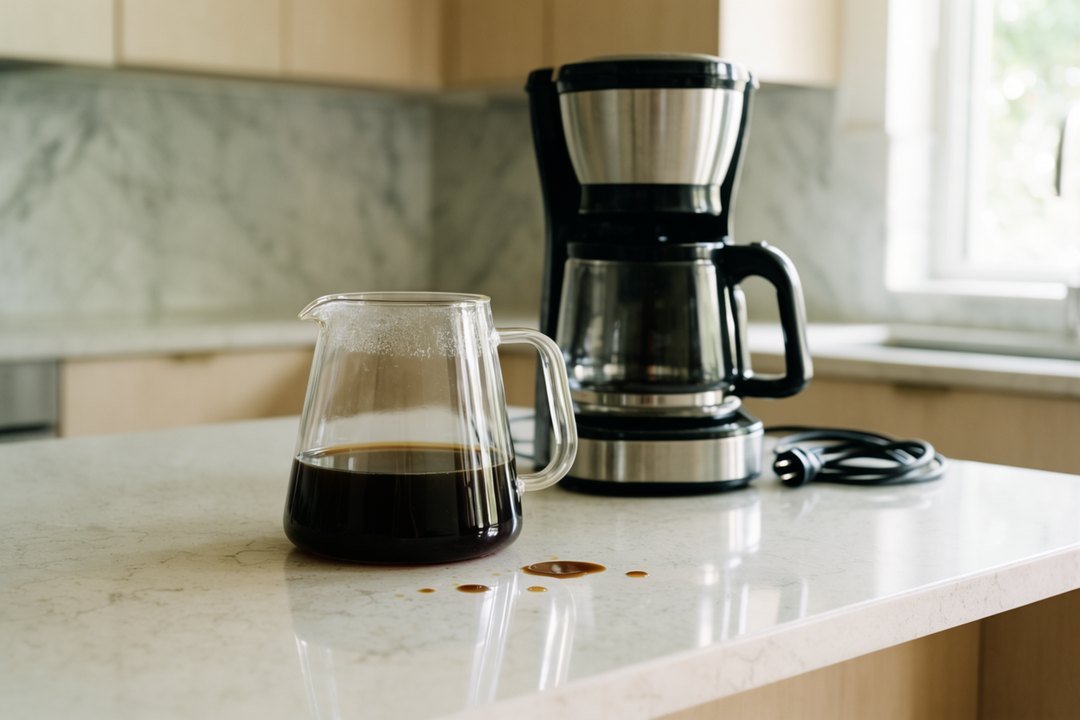
Not every “bottom leak” originates inside the machine. Imagine filling a glass carafe to the brim, brewing more coffee than it comfortably holds, and letting a stream run down its side as you pour. You may not notice the spill until it has moved underneath the machine and onto the counter. A splash near a warming plate can follow a surface you cannot see from the front.
When the machine is cool and safely unplugged, observe whether there are dried coffee marks on the outside of the carafe, beneath the spout or along the counter. A brown stain can suggest a spilled drink rather than a clear-water reservoir leak. But staining alone does not prove the origin or rule out an internal leak.
Make sure you are using the correct carafe for your exact brewer model. Some machines use a model-specific lid profile to control the flow from the basket into the pot. A similar-looking replacement can miss the drip point or interfere with the manufacturer’s pause-and-serve arrangement. Follow the manual’s fill markings and use the designated carafe and lid.
If the machine is obviously overflowing at the basket rather than leaking from beneath its body, that is a different search intent. Check filter placement, grounds quantity and brew-basket assembly using the manual instead of assuming a bottom seal has failed. Our separate NookPrep coffee-maker guidance covers the larger family of space and handling problems; do not force an overflow diagnosis onto an unidentified puddle.
The drip tray may be doing exactly what it was designed to do
Espresso machines and some automatic systems move water through internal rinsing routines. Some send that liquid into a removable tray. Discovering liquid there after a cycle can be a normal part of operation for the particular model. Philips documents that behavior for its Barista Brew machines after coffee brewing or milk frothing. It is not necessarily evidence of a cracked housing.
Two observations help. Is the liquid contained within the tray as designed? Is the tray filling at a rate the manufacturer describes as expected? If the tray overflows onto the counter, an otherwise normal collection system may have been allowed to fill too far. Follow the documented emptying and cleaning interval rather than ignoring it.
A drip coffee maker with a warming plate is different from a pump-driven espresso model. Do not look for a hidden drip tray because a guide about an espresso machine mentions one. Read the parts diagram of your actual machine. If there is no user-accessible liquid tray, avoid removing panels to search for it.
What if the leak began just after cleaning or descaling?
A leak that appears after maintenance deserves a close look at the steps that were changed. You may have removed a tank, carafe lid, filter basket or tray and not returned it to its correct position. A container can also be left slightly tilted on the counter, leading to a spill that resembles an appliance leak. The solution is not necessarily to repeat the descaling cycle.
With power safely disconnected and the unit cool, check only accessories the user manual identifies as removable. Confirm that the basket, reservoir, carafe and drip tray are seated as shown. Keep cleaning liquids off electrical controls and follow the manufacturer’s rinse and descaling procedure, including its approved solution. A descale recipe from a different brand is not automatically appropriate.
If a leak occurs only when the machine is heating or pumping water, do not take the housing apart to observe it. Internal pressure, hot surfaces and live electrical components make “watch it with the cover off” an unsafe home diagnostic method. Describe the timing to customer service and ask for approved service options instead.
Why the color of the liquid is only a clue
Clear water near a coffee maker may come from filling a reservoir, rinsing an accessory, or a connection in the machine. Brown liquid may be spilled brewed coffee, a carafe dribble, or a brew-basket overflow. Those distinctions make a better starting point than “the pump must be broken,” but they are not proof. A dried coffee mark can be older than the leak you noticed today. A little steam condensation can also travel across a nearby surface.
Rather than intentionally brewing another pot to recreate the puddle, photograph the original scene if it is safe to do so. Note where the machine stood, where the liquid appeared relative to the carafe and reservoir, and whether someone had just refilled or washed a removable part. If a spill could have reached the plug, base, or receptacle, do not handle wet electrical equipment or reconnect the brewer for an experiment. That is a service question, not a cleanup challenge.
When the electrical area is safe and everything is cool and disconnected, you may be able to examine only the user-accessible carafe, lid, or removable tank described in the manual. Do not remove the bottom housing to look for an O-ring. Manufacturers use different constructions, and a generic picture of an espresso machine cannot identify a leak inside a simple drip brewer. If you cannot establish that the liquid was an external spill, describe the uncertainty to support rather than guessing.
There is a useful distinction between a stain and a recurring leak
A mark discovered once after a rushed morning is different from a fresh puddle appearing repeatedly. Both deserve explanation, but the evidence you collect will differ. Keep track of when you found it, the approximate size, the liquid’s color, which parts had recently been moved and whether the machine was on or off at the time. Do not restart a unit that may have a wet electrical base merely to improve your notes.
If you have an old photo of the countertop from before the problem, it can help identify whether the stain was already present. A small piece of paper towel used to wipe a completely disconnected and safe countertop may show the liquid’s color. It is not a leak-detection tool to place under a running electric coffee maker or over hot surfaces.
A recurring leak can damage cabinets, create a slip hazard and reach nearby appliances. It is not something to tolerate indefinitely while shopping for a cheaper seal. If liquid repeatedly appears beneath the housing, the safe choice is to stop using the brewer until the manufacturer or qualified service provider identifies the issue.
Should you repair the machine or replace it?
Repair makes sense only when the fault is actually understood, the correct part is available and the work can be done safely. A visibly cracked removable water tank may be a straightforward owner-replaceable accessory on one model. A leak deep within a hot, pressurized or electrical assembly is not the same category of problem. Do not buy internal parts based on a generic video of “the same leak.”
Look at the warranty and parts information for your exact model and region. Ask whether the manufacturer offers an approved replacement tank or carafe and whether a service evaluation is available. Compare those real costs against an appropriately sized replacement brewer rather than treating a small puddle as proof you should buy a new appliance immediately.
Even a compact machine can be inconvenient to own if a replacement carafe is unusually hard to obtain. If you do need a new brewer, ask which annoyance matters most: reservoir access beneath cabinets, small-batch capacity, ease of cleaning or the overall counter footprint. NookPrep’s Hamilton Beach 46111 counter-space analysis shows how to think about access without pretending that layout features prove reliability. A more convenient fill location does not promise a leak-free future.
If you really need a new brewer, look beyond the puddle
First establish whether the leak is a spill, a replaceable accessory issue, or a fault the manufacturer says needs professional service. If a machine may have moisture around electrical parts, stop using it instead of trying to run a final comparison brew. Only after the problem and repair cost are clear should a replacement enter the picture.
The Hamilton Beach 46111 is worth a look if the old machine was simply too bulky for a one- or two-person kitchen. Its front-access filling and 5-cup capacity solve a space and routine problem, not a demonstrated leak-reliability problem. A replacement may still spill if the carafe is overfilled or used incorrectly. Check the exact model, current availability, and seller terms before deciding.
Affiliate disclosure. As an Amazon Associate I earn from qualifying purchases. These links do not change the troubleshooting advice or make a product a proven repair.
Compare the Hamilton Beach 46111 on Amazon ↗ (paid link)
What to tell support so you do not start from zero
When you contact the manufacturer, have the full model number and serial number ready. Tell them whether you found clear water or coffee, where it collected, whether the reservoir is removable, whether the liquid appeared before brewing, during brewing or after cleaning, and what you could see safely from the outside. If you observed an error code, record the exact wording.
Do not label the problem “failed pump gasket” unless the manufacturer or a qualified technician has actually identified that fault. A precise description of symptoms is more useful than a guess about which internal part needs replacement. Ask whether there is an official bulletin, recall, repair option or approved user-serviceable part for your exact model.
If the appliance is still under warranty, avoid unauthorized disassembly that can complicate service and increase the risk of injury. Some repairs require specialized parts or tests. The goal is not to prove your theory about the leak; it is to get the machine assessed without adding another problem.
One final decision before your next cup
Step away from the idea that every puddle means a dead coffee maker. First, identify whether the liquid is from a normal user-accessible drip tray, a spill outside the carafe, a removable reservoir that is not seated correctly or an unknown source. Second, decide whether the electrical base or surrounding outlet has been exposed to moisture. Third, use the exact manual to see whether an approved, safely accessible check applies. If the source remains unclear or the leak recurs, stop and seek support.
Our evidence boundary. This is not a hands-on test or a diagnosis of your particular coffee maker. Philips’s published Barista Brew guidance distinguishes normal drip-tray drainage from certain tank-related leaks for its own models. CPSC guidance supports caution around wet electrical equipment. None of these sources establishes how often leaks occur, which internal component fails most, or that a different manufacturer’s machine has the same removable seals or procedures.
A little patience with the evidence may save the price of an unnecessary replacement. It should never come at the cost of operating an appliance that may have wet electrical components. A safe stop and a well-described symptom are sometimes the most useful “fix” you can make at home.